YACHT - Yet Another Compilation of Hugo Tricks
(last updated on Jul 12, 2020)Since my previous (first) post, I’ve been tinkering with Hugo and themes in order to turn my blog into something that I’m really happy with.
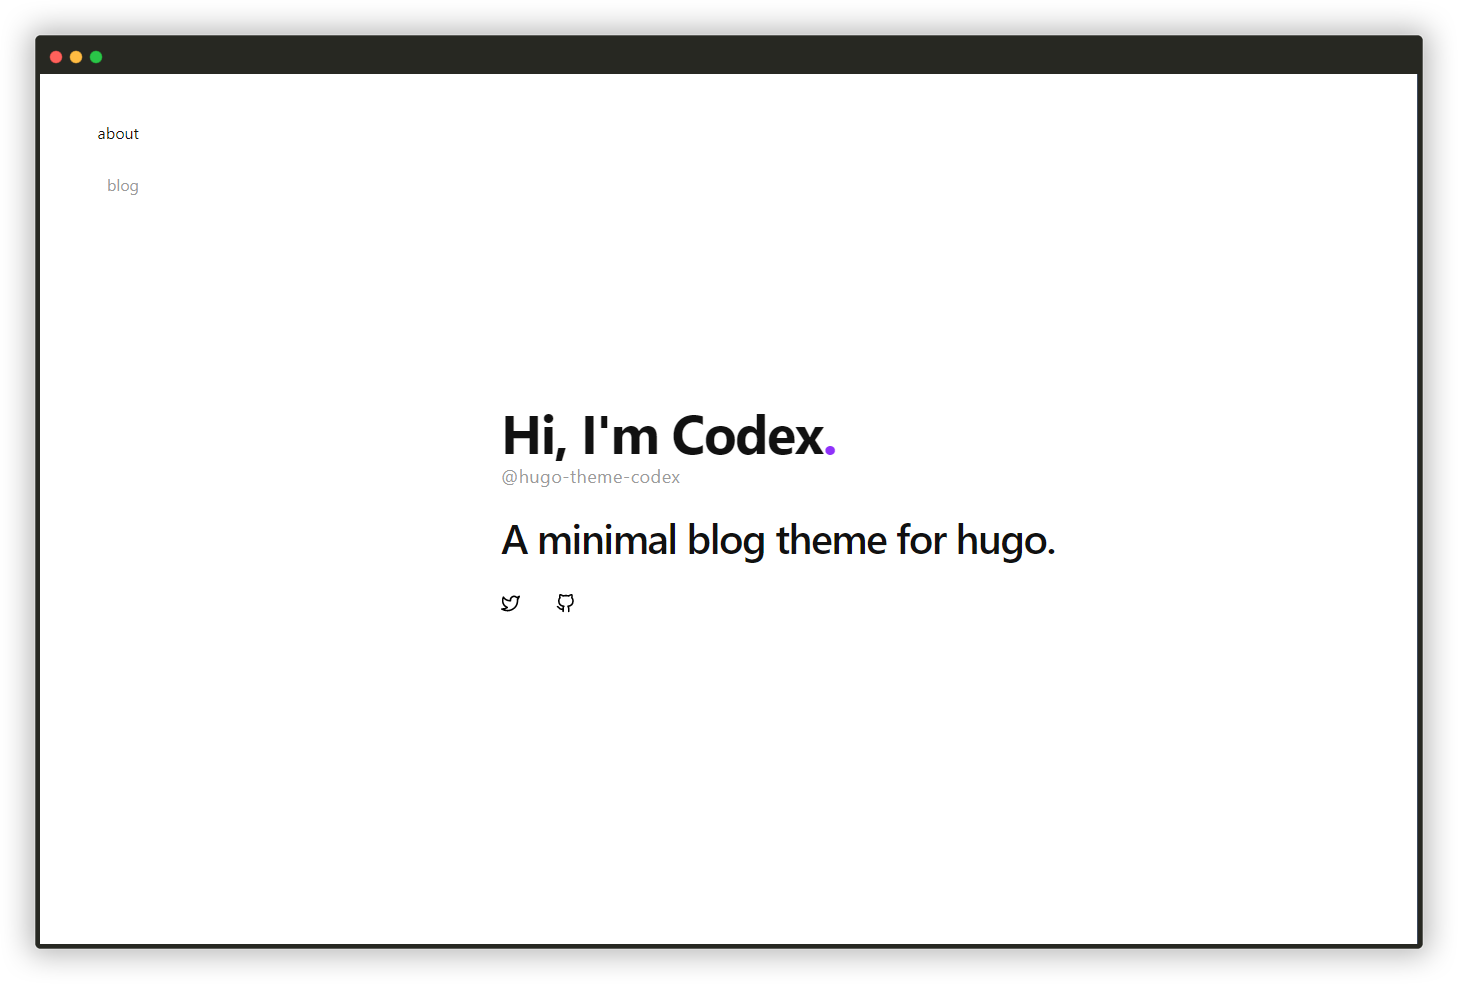
After a few themes, I eventually settled with Codex, a delightfully minimalist and good-looking theme by @jakewies.
In the process of integrating the theme, I found there were features that I missed from those I’d used previously, and/or improvements that could be made to make integration easier for new users like me. After making those improvements on my own site, I’ve learned a great deal, and I reckoned it’d be great to contribute back to Codex to help people who are also interested in this theme.
So yes, this is just another™ list of techniques/tips for Hugo that I either found elsewhere or figured out myself, with an additional focus on how to contribute back to the themes you’re using. I hope this will be helpful to new Hugo users like me.
Test your site on phones#
Normally, after running hugo serve, you can access your site at localhost:1313. While you can use your browser’s Inspect mode to simulate a mobile screen, usually it’s still more reassuring if you can use your actual phones to test the site before deploying.
To do this, from your coding environment simply use this command instead:
hugo serve --bind=0.0.0.0 --baseUrl=YOUR_COMPUTER_NAME
Then on your phone, access the site at https://YOUR_COMPUTER_NAME:1313. You can use your laptop’s IP, but in my opinion it’s easier to refer to its name instead.
Move themes folder out of the way#
You’re most probably using git submodules to add themes to your site. Admittedly, submodules are not the easiest things to work with. I’ve had my fair share of weird problems after making changes to my site’s file structure, which usually end up with me painfully removing the submodules and adding them back again.
Then I realized that having the themes folder on the same structural level with the rest of my site was not a good idea. After a few several attempts, I came up with the following folder layout:
site_root
 ├─ themes
 └─ src
     ├─ archetypes
     ├─ content
     ├─ ...
     └─ config.toml
To summarize, the themes folder is still in the outermost level, but the rest of the site (including config.toml) is placed inside a subfolder src. Doing so separates the theme submodules (which should not be modified) and the actual contents of my site.
For this to work, I also need to point the site’s themesDir to the correct path:
# src/config.toml
themesDir = "../"   # pointing to site_root
If you’re using Netlify to build your site (and you should), you also need to add cd src to all commands in netlify.toml like so:
[build]
command = "cd src && hugo --gc --minify"

[context.split1]
command = "cd src && hugo --gc --minify --enableGitInfo"

[context.deploy-preview]
command = "cd src && hugo --gc --minify --buildFuture -b $DEPLOY_PRIME_URL"

[context.branch-deploy]
command = "cd src && hugo --gc --minify -b $DEPLOY_PRIME_URL"
Multiple build profiles#
Instead of a single config.toml, I split the config into environment specific folders:
src
 └─ config
     ├─ _default
     │   └─ config.toml
     └─ dev
         └─ config.toml
Running hugo serve will default to the production _default/config.toml, while hugo serve --environment dev helps pick the dev version.
One benefit of doing this is the possibility of mounting a different theme folder during development, which is helpful to test your own theme forks.
While I’ve already added the theme codex as a submodule in themes, I also forked it and cloned to another folder on my system:
workspace
 ├─ site_root
 │   └─ src
 │       └─ config
 │   └─ themes
 │       ├─ codex          # submodule
 │       └─ codex-patch
 └─ hugo-theme-codex       # my fork
     └─ ...
After making changes to the fork, I can test with my own site (instead of the theme’s included exampleSite) using the dev config. I can even use my patch folder still:
# dev/config.toml
themesDir = "../.."   # pointing to workspace
theme = ["site_root/themes/codex-patch", "hugo-theme-codex"]
Theme overrides with theme components#
After choosing your favorite theme, it’s time to customize it to your liking. Most Hugo quick-start guides and tutorials out there will instruct you to copy the theme’s files to the corresponding folders of your site, and then make modifications on the cloned files.
That’s all good and well, until you happen to find a nicer theme.
You update the site’s config with the new theme, run hugo serve, and suddenly realize your modified layouts and styles for the previous theme are wrecking havoc on the new one.
So to avoid this problem, instead of cluttering your main site’s folders with overrides, you can utilize theme components by creating a “patch” folder and placing it next to the theme you’re using (inside themes). The example below overrides nav.html of the theme codex:
site_root
 ├─ layouts
 │  ...
 └─ themes
     ├─ codex
     └─ codex-patch
         └─ layouts
             └─ partials
                 └─ nav.html
Then update your config.toml as follows (the patch should come before the theme itself):
theme = ["codex-patch", "codex"]
In this way, when I need to switch to another theme, I’ll just have to change my config to use the new theme and its patch instead. The old theme (and its patch) is not affected. Nice.
The tricks I have listed above are what I’m currently using for this blog. This list is of course not exhaustive, as I will certainly add more and update this post in the future.